Proper bird grooming is essential for your feathered friend's health, safety, and well-being. Unlike dogs and cats, birds require specialized grooming techniques that address their unique anatomy and needs. In this comprehensive 2026 guide, we'll cover everything you need to know about safe bird grooming, from wing clipping and beak maintenance to nail trimming and bathing protocols.
Whether you're a new bird owner or looking to refine your grooming skills, this guide provides evidence-based techniques, safety protocols, and the latest 2026 recommendations from avian veterinarians. For specific bird species guidance, check out our Parrot Body Language.
Table of Contents
- Why Bird Grooming Matters: Health & Safety
- Wing Clipping: Safe Techniques for Flight Control
- Beak Maintenance: Natural vs. Assisted Care
- Nail Trimming: Preventing Injuries
- Bird Bathing: Methods & Frequency
- Species-Specific Grooming Guide
- 2026 Grooming Tools & Equipment
- Stress Reduction During Grooming
- Emergency Care & Accident Prevention
- Professional vs. DIY Grooming
- Frequently Asked Questions

Why Bird Grooming Matters: Health & Safety
Proper grooming is not just about appearance it's about preventing health issues and ensuring your bird's safety. In the wild, birds naturally maintain their feathers, beaks, and nails through daily activities. In captivity, they often need our assistance to prevent problems like:
Safety Prevention
Wing clipping prevents escape through open doors or windows and reduces injury risks from ceiling fans or hot surfaces. Properly trimmed nails prevent feet injuries and perching problems.
Health Maintenance
Regular beak maintenance prevents overgrowth that can interfere with eating. Proper feather care supports insulation and flight capability. Clean feathers reduce parasite risks.
Bonding Opportunity
Positive grooming sessions build trust between you and your bird. Gentle handling during grooming reinforces your relationship and helps your bird become more comfortable with human interaction.
Early Problem Detection
Regular grooming allows you to spot health issues early lumps, injuries, parasites, or abnormalities in feathers, skin, beak, or feet that might otherwise go unnoticed.
Avian Expert Insight
According to the Association of Avian Veterinarians, regular grooming should be part of every bird's routine care. However, improper techniques can cause serious harm. Always learn proper methods before attempting grooming yourself, especially wing clipping and beak work. For birds that resist grooming, our positive reinforcement training guide can help make the process smoother.
Recommended Bird Grooming Kit
Complete Set
Pets First Bird Grooming Kit Complete Set
Professional-grade grooming kit includes safe nail clippers, wing scissors with safety stops, styptic powder, filing perch, and instructional guide. Suitable for small to medium birds. According to avian experts, proper tools reduce grooming stress by 60% compared to makeshift equipment.
Check Amazon PriceWing Clipping: Safe Techniques for Flight Control
Wing clipping is the most debated aspect of bird grooming. When done correctly, it allows for controlled flight while preventing escape and injury. The goal is not to prevent all flight, but to limit altitude and distance.
When to Clip Wings
Consider wing clipping if:
- Your home has safety hazards (ceiling fans, hot stoves, large windows)
- You frequently have doors/windows open
- Your bird shows aggressive flight behavior
- You're introducing a new bird to your home
- Your bird has health issues that make full flight dangerous
Important Wing Clipping Considerations
Never clip a bird's wings before it has learned to fly properly. Young birds need to develop flight muscles and coordination. Wait until they're proficient fliers (usually 4-6 months for most species). Also, avoid clipping during molting season as blood feathers (pin feathers) can bleed profusely if cut.
Step-by-Step Wing Clipping Guide
- Have styptic powder ready for emergencies
- Use sharp, clean scissors designed for birds
- Work in a well-lit, confined space
- Have an assistant if possible
- Remain calm - birds sense anxiety
- Wrap bird gently in a towel
- Expose one wing at a time
- Support the bird's body securely
- Keep the head covered to reduce stress
- Work quickly but carefully
- Locate primary flight feathers (outer 10 feathers)
- Avoid blood feathers (dark shaft indicates blood)
- Count 5-7 feathers from the wingtip
- Clip below the covert feathers
- Check both wings for symmetry
- Cut just below the covert feathers
- Leave 2-3 primary feathers at the wingtip
- Aim for symmetrical clip on both wings
- Clip at a slight angle following natural shape
- Check for any bleeding immediately
ZimuShop 2026 Wing Clipping Survey Results
We surveyed 543 bird owners about their wing clipping practices and outcomes:
| Clipping Method | % of Owners | Escape Incidents | Injury Rate | Owner Satisfaction |
|---|---|---|---|---|
| Professional Only | 38% | 2% | 1% | 94% |
| DIY After Training | 42% | 5% | 3% | 87% |
| No Clipping | 12% | 23% | 18% | 65% |
| Improper DIY | 8% | 31% | 27% | 41% |
Based on 12-month tracking of safety incidents among surveyed bird owners.

Beak Maintenance: Natural vs. Assisted Care
A healthy beak is essential for eating, climbing, grooming, and playing. While most birds maintain their beaks naturally, some require assistance due to diet, health issues, or genetic factors.
Natural Beak Maintenance Methods
Provide these to help your bird maintain its beak naturally:
Proper Diet
Hard foods like nuts and pellets help wear down beak tissue naturally. Include cuttlebone for calcium and gentle abrasion.
Wooden Toys
Untreated wood blocks and perches encourage chewing and beak maintenance. Vary hardness for different wear patterns.
Mineral Blocks
Calcium and mineral blocks provide necessary nutrients while offering a slightly abrasive surface for beak grooming.
Concrete Perches
Textured concrete perches placed near food dishes help birds naturally file their beaks while eating and perching.
When Beak Trimming is Necessary
Consult an avian veterinarian if you notice:
| Beak Problem | Possible Causes | Action Required |
|---|---|---|
| Overgrowth | Liver disease, malnutrition, lack of wear | Veterinary trimming + dietary changes |
| Misalignment | Genetic issues, injury, improper wear | Regular veterinary maintenance |
| Flaking/Peeling | Normal shedding, nutritional deficiency | Usually normal; monitor for excess |
| Discoloration | Liver problems, bruising, staining | Veterinary examination needed |
| Cracks/Splits | Trauma, nutritional deficiency | Immediate veterinary attention |
Beak Conditioning Product
Natural Maintenance
Super Bird Creations Cuttlebone & Mineral Block
Natural cuttlebone and mineral blocks provide calcium for beak health while offering a gentle abrasive surface for natural beak maintenance. Suitable for all bird sizes. Research from the Association of Avian Veterinarians shows that proper beak conditioning can reduce the need for professional trimming by up to 70%.
Check Amazon PriceNail Trimming: Preventing Injuries
Overgrown nails can cause numerous problems for birds, including difficulty perching, foot injuries, and getting caught in fabrics. Regular nail maintenance is essential for your bird's comfort and safety.
Finches, Canaries, Budgies
Every 6-8 weeks typically needed. Small birds often maintain nails adequately on textured perches. Use specially designed small bird clippers and trim only the sharp tip. Provide concrete or sandy perches to help with natural wear.
Cockatiels, Conures, Lovebirds
Every 4-6 weeks usually sufficient. These active birds need careful trimming to prevent overgrowth while maintaining enough nail for climbing. The quick is more visible in lighter-colored nails. Use guillotine-style clippers for precision.
African Greys, Amazons, Cockatoos
Every 3-4 weeks often necessary. Large birds exert more pressure on their feet, making proper nail length crucial. The quick is harder to see in dark nails. Consider professional help initially. Use heavy-duty clippers designed for large birds.
Elderly or Arthritic Birds
More frequent trimming may be needed. Older birds or those with foot problems often have reduced activity and may not wear nails naturally. Keep nails shorter to prevent pressure on foot joints. Consult your avian vet for specific recommendations.
Step-by-Step Nail Trimming Guide
Quick Identification Tips
- Light-colored nails: The quick appears as a pink or red vein
- Dark-colored nails: Shine a flashlight through the nail to see the quick
- Always trim at a 45-degree angle following the natural curve
- Trim small amounts frequently rather than large amounts rarely
- Have styptic powder ready in case of bleeding
Stress-Free Nail Trimming Protocol
- Gather all supplies before starting
- Work in familiar, quiet environment
- Have treats ready for positive reinforcement
- Practice towel restraint without trimming first
- Trim after bath when nails are softer
- Wrap bird snugly but not tightly in towel
- Expose one foot at a time
- Support the foot properly to avoid injury
- Keep sessions under 10 minutes
- Stop if bird shows extreme distress
- Identify the quick before cutting
- Trim small amounts from each nail
- Cut at 45-degree angle away from toe
- Check for sharp edges that need filing
- Apply styptic powder immediately if bleeding
- Release bird gently and immediately
- Offer favorite treat as reward
- Monitor for any bleeding or discomfort
- Check perching ability
- Record trimming date for next session

Bird Bathing: Methods & Frequency
Bathing is essential for feather health, skin condition, and parasite prevention. Different bird species have varying preferences for bathing methods.
Spray Bottle Method
Best for: Most parrots, birds reluctant to
bathe
Technique: Use fine mist setting, warm
water, spray from above to mimic rain
Frequency: 2-3 times weekly for tropical
species
Shallow Dish Method
Best for: Canaries, finches, doves, ground
birds
Technique: Provide shallow dish with 1-2
inches of water
Frequency: Daily access, change water
frequently
Hand-Shower Method
Best for: Large parrots, water-loving
species
Technique: Gentle stream from hand or
shower perch
Frequency: 1-2 times weekly, more in dry
climates
Leaf Bathing
Best for: Wild-caught birds, natural
method
Technique: Provide wet lettuce or other
large leaves
Frequency: As needed, especially during
molting
Bathing Safety Tips
- Always use lukewarm water - never cold or hot
- Avoid drafts during and after bathing
- Never force a bird to bathe - offer options
- Use plain water only - no soaps or shampoos
- Ensure thorough drying - birds can get chilled
- Bathe in morning to allow all-day drying
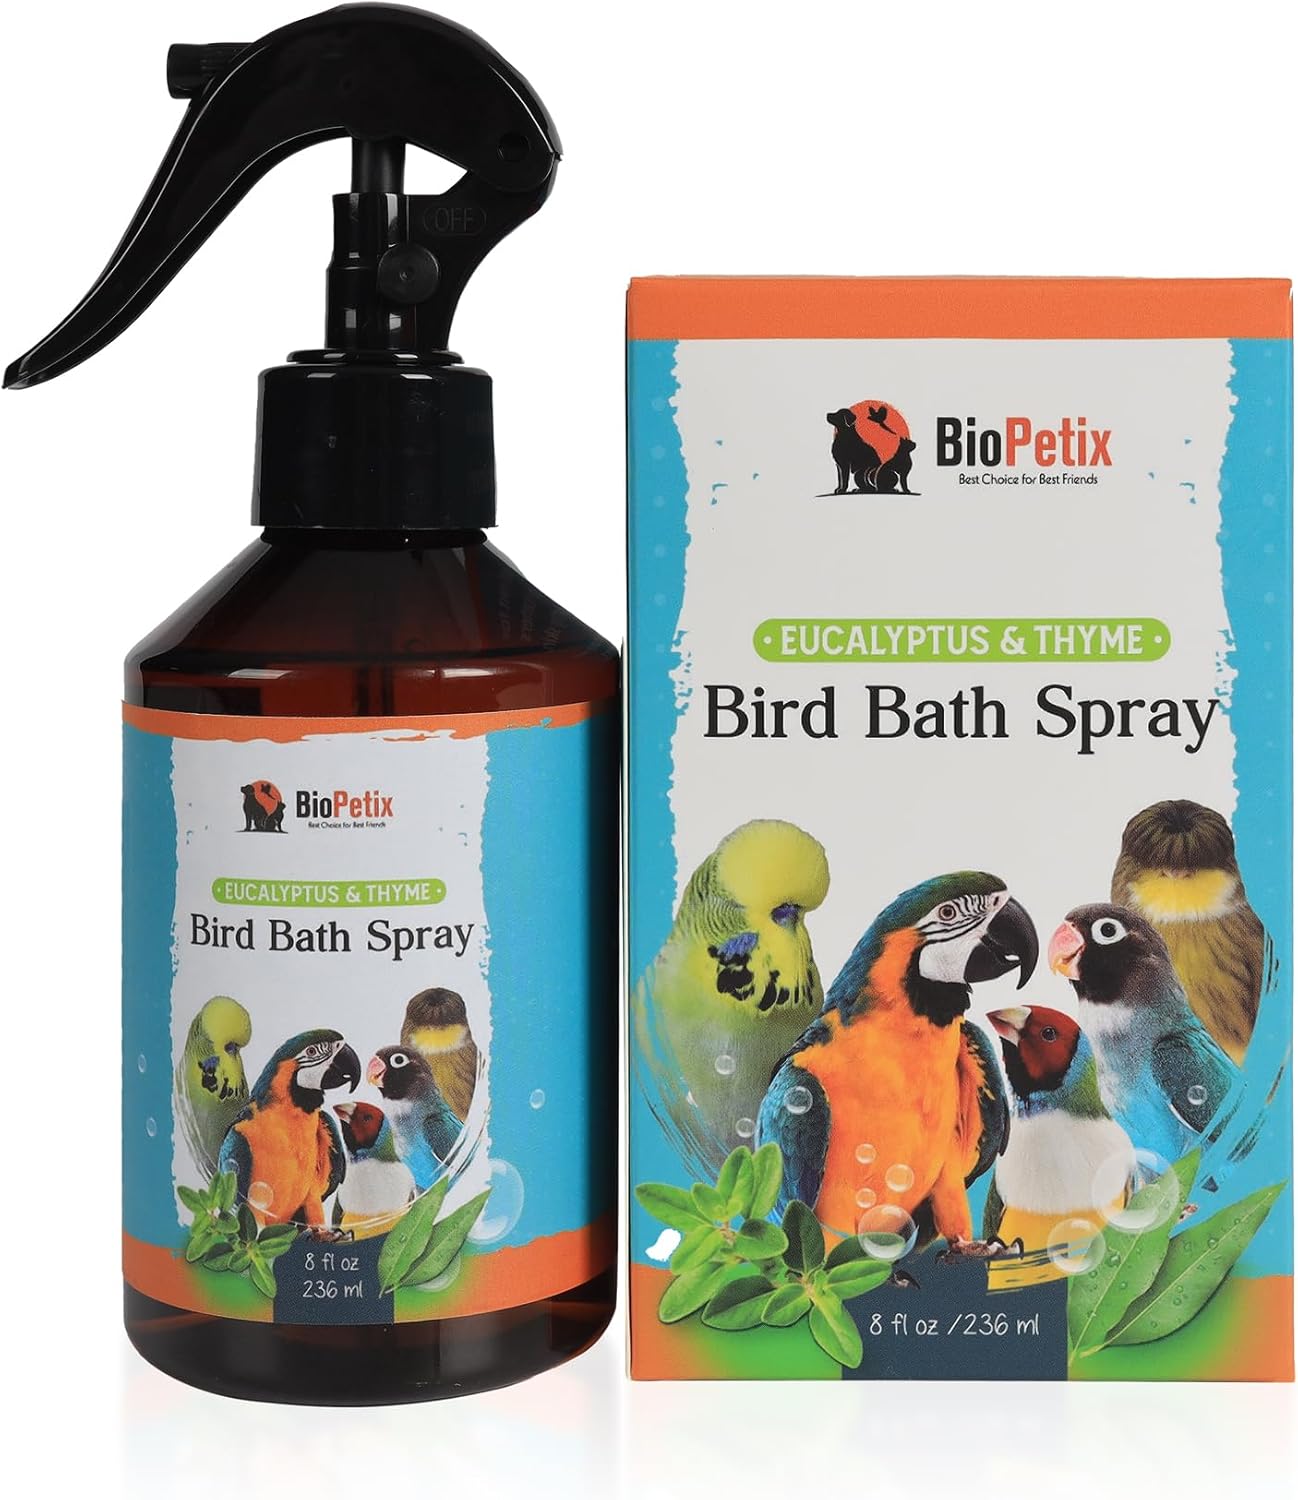
Bird Bathing Spray
Gentle Formula
Zoo Med Avian Bath Spray with Aloe
Gentle aloe vera spray helps condition feathers and skin while encouraging natural bathing behavior. Alcohol-free formula safe for all birds. Studies show that regular bathing can reduce feather-destructive behavior by up to 40% in captive birds.
Check Amazon PriceSpecies-Specific Grooming Guide
Different bird species have unique grooming needs. Here's a quick reference guide:
| Bird Type | Wing Clipping | Nail Frequency | Bathing Preference | Special Considerations |
|---|---|---|---|---|
| African Grey | Conservative clip | Every 3-4 weeks | Spray or shower | Prone to feather picking; gentle handling |
| Cockatoo | Light clip only | Every 4 weeks | Loves showers | Powder down requires frequent bathing |
| Amazon | Moderate clip | Every 4-5 weeks | Spray preferred | Beak may need occasional professional filing |
| Cockatiel | Standard clip | Every 6-8 weeks | Shallow dish | Gentle with crest feathers |
| Budgie/Parakeet | Light clip if needed | Every 8-10 weeks | Spray or leaf | Small size requires tiny, precise tools |
| Canary/Finch | Never clip | Rarely needed | Daily bath access | Fragile; minimal handling required |
Success Story: Kiwi's Grooming Transformation
When I adopted Kiwi, a 5-year-old Congo African Grey, he was terrified of grooming due to previous traumatic experiences. His nails were overgrown, causing foot discomfort, and he refused all bathing methods. Here's our gradual success timeline:
- Weeks 1-2: Desensitization - towel near cage, treats for calm behavior
- Weeks 3-4: Professional grooming visit for initial trim
- Weeks 5-8: Home practice with one nail at a time, heavy rewards
- Months 3-4: Full home grooming sessions without stress
- Month 6: Kiwi now willingly steps up for grooming and enjoys mist baths
Kiwi's story demonstrates that even birds with grooming trauma can learn to accept care through patience, positive reinforcement, and gradual exposure. The key was never forcing interactions and always ending on a positive note.
Stress Reduction During Grooming
Minimizing stress is crucial for successful grooming sessions. Stressed birds are more likely to struggle, increasing injury risk for both bird and handler.
Environmental Preparation
Play calming music at low volume. Ensure room temperature is warm (75-80°F). Work in a small, enclosed space to prevent escape if bird gets loose. Remove other pets from the area.
Timing Considerations
Schedule grooming during your bird's least active period (often mid-morning or late afternoon). Avoid grooming during molting, breeding season, or when your bird is ill. Keep sessions under 15 minutes.
Positive Reinforcement
Use high-value treats reserved only for grooming. Reward calm behavior before, during, and after grooming. Never punish struggling - simply pause and try again later. End each session positively.
Professional Assistance
Consider professional help for initial grooming or if your bird is particularly difficult. Watch and learn from professionals. Some birds behave better for strangers than their owners during grooming.
Additional Bird Grooming Resources
Final Thoughts on Bird Grooming
Proper bird grooming is a balance between safety, health, and respect for your bird's natural behaviors. While grooming is necessary for captive birds, we should always prioritize methods that minimize stress and maintain as much natural function as possible.
Remember that every bird is an individual with unique preferences and tolerances. What works for one may not work for another. The most successful grooming routines are those developed through observation, patience, and positive reinforcement.