Clicker training represents one of the most effective, science-based methods for teaching dogs new behaviors and modifying existing ones. This comprehensive 2026 guide will walk you through everything from basic principles to advanced techniques, helping you build a stronger bond with your canine companion through positive reinforcement.
Unlike traditional training methods that rely on correction, clicker training focuses on marking desired behaviors with a distinct sound (the click), followed immediately by a reward. This clear communication system allows dogs to understand exactly what they did right, making learning faster and more enjoyable for both trainer and dog.
Table of Contents
- What Is Clicker Training?
- The Science Behind Clicker Training
- Getting Started: Essential Equipment
- Step 1: Charging the Clicker
- Basic Clicker Training Techniques
- Teaching Common Commands
- Advanced Clicker Training Techniques
- Troubleshooting Common Problems
- 6-Week Training Timeline
- Recommended Clicker Training Tools
- Frequently Asked Questions

What Is Clicker Training?
Clicker training is a positive reinforcement training method that uses a small handheld device that makes a distinct "click" sound to mark desired behaviors. The click acts as an "event marker" that tells the dog exactly which behavior earned them a reward.
Precision
The click pinpoints the exact moment your dog performs the desired behavior, creating clear communication.
Positive Reinforcement
Focuses on rewarding good behavior rather than punishing mistakes, building trust and enthusiasm.
Mental Stimulation
Engages your dog's problem-solving abilities, making training sessions mentally enriching.
Bond Strengthening
Creates positive associations with training, strengthening the human-dog relationship.
Originally developed for marine mammal training, clicker training was adapted for dogs by pioneering trainers like Karen Pryor in the 1990s. Today, it's widely recognized by organizations like the American Kennel Club as one of the most effective training methods for dogs of all ages and breeds.
Did You Know?
The click sound is what psychologists call a "bridging stimulus" or "conditioned reinforcer." It bridges the gap between the behavior and the reward, allowing for precise timing that verbal praise alone can't match. This precision is why clicker-trained dogs often learn complex behaviors much faster than with traditional methods.
Recommended Training Clicker
Editor's Choice
PetSafe Clik-R Dog Training Clicker
Professional-grade training clicker with wrist strap for easy handling. Features distinct, consistent click sound perfect for precise timing. Ergonomic design fits comfortably in hand. For puppies, check out our beginner puppy training guide with age-appropriate techniques.
Check Amazon PriceThe Science Behind Clicker Training
Clicker training is grounded in behavioral science, specifically operant conditioning and classical conditioning. Understanding these principles will make you a more effective trainer.
Scientific Principles in Action
| Principle | How It Works | Training Application |
|---|---|---|
| Operant Conditioning | Behaviors are influenced by their consequences | Click marks behavior → Reward follows → Behavior increases |
| Classical Conditioning | Associating two stimuli together | Click sound becomes associated with reward (Pavlovian response) |
| Marker Training | Precise communication of desired moment | Click acts as "camera shutter" capturing exact behavior |
| Successive Approximation | Shaping complex behaviors through small steps | Rewarding closer approximations until final behavior is achieved |
The Critical Timing Window
For maximum effectiveness, the click must occur WITHIN 1 SECOND of the desired behavior:
Perfect Timing (0-1 second): Dog clearly associates behavior with reward
Acceptable (1-3 seconds): Dog may still make the connection
Too Late (3+ seconds): Confusion - dog won't know what earned the reward
Getting Started: Essential Equipment
Beginning clicker training requires minimal equipment, but choosing the right tools can enhance your success:
The Clicker
Choose a clicker with: Consistent sound, comfortable grip, and optionally a wrist strap. Some trainers prefer box clickers, while others like button styles. Test several to find what feels natural in your hand.
High-Value Treats
Small, soft, and smelly treats work best. Cut treats into pea-sized pieces. Reserve special treats (cheese, chicken, hot dogs) for challenging behaviors. For dogs on special diets, our homemade treat recipes offer nutritious alternatives.
Treat Pouch
Essential for keeping treats accessible. Look for pouches that attach to your belt or waistband. Having treats ready ensures you can reward immediately after the click, maintaining that critical timing.
Patience and Consistency
Your most important tools. Start with short sessions (5-10 minutes), end on a positive note, and be consistent with your timing and criteria. Remember: quality over quantity in training sessions.
Common Beginner Mistakes to Avoid
- Clicking without treating: This breaks the click-reward association
- Using the click as a command: The click marks behavior, it doesn't request it
- Getting frustrated: If you're frustrated, your dog senses it - end the session
- Progressing too quickly: Master each step before moving to the next
- Training when tired or hungry: Both you and your dog should be alert and motivated

Step 1: Charging the Clicker
Before you can use the clicker for training, you must "charge" it - create a positive association between the click sound and a reward. This process typically takes just one or two short sessions.
Creating the Click-Treat Connection
Duration: 3-5 minutes
Location: Quiet room with minimal
distractions
Procedure:
- Have 20-30 pea-sized treats ready
- Click → immediately give treat (within half a second)
- Repeat 10-15 times
- Watch for signs your dog understands: ears perking up at the click, looking expectantly for the treat
- End session on a positive note
Testing the Connection
Duration: 5 minutes
Location: Same quiet environment
Procedure:
- Wait until your dog is distracted (looking away, sniffing)
- Click and watch their reaction
- If they immediately look at you expecting a treat, the clicker is charged!
- If not, repeat Session 1 exercises
Signs Your Clicker is Properly Charged
- Immediate response: Dog looks for treat within half a second of hearing click
- Positive anticipation: Ears perk up, body language is alert and happy
- No fear response: Dog isn't startled or anxious about the sound
- Conditioned response: Works even when dog is mildly distracted
If your dog seems fearful of the click sound, try muffling it in your pocket initially, or use a quieter clicker alternative like a pen click or tongue click.
Training Treat Pouch
Convenient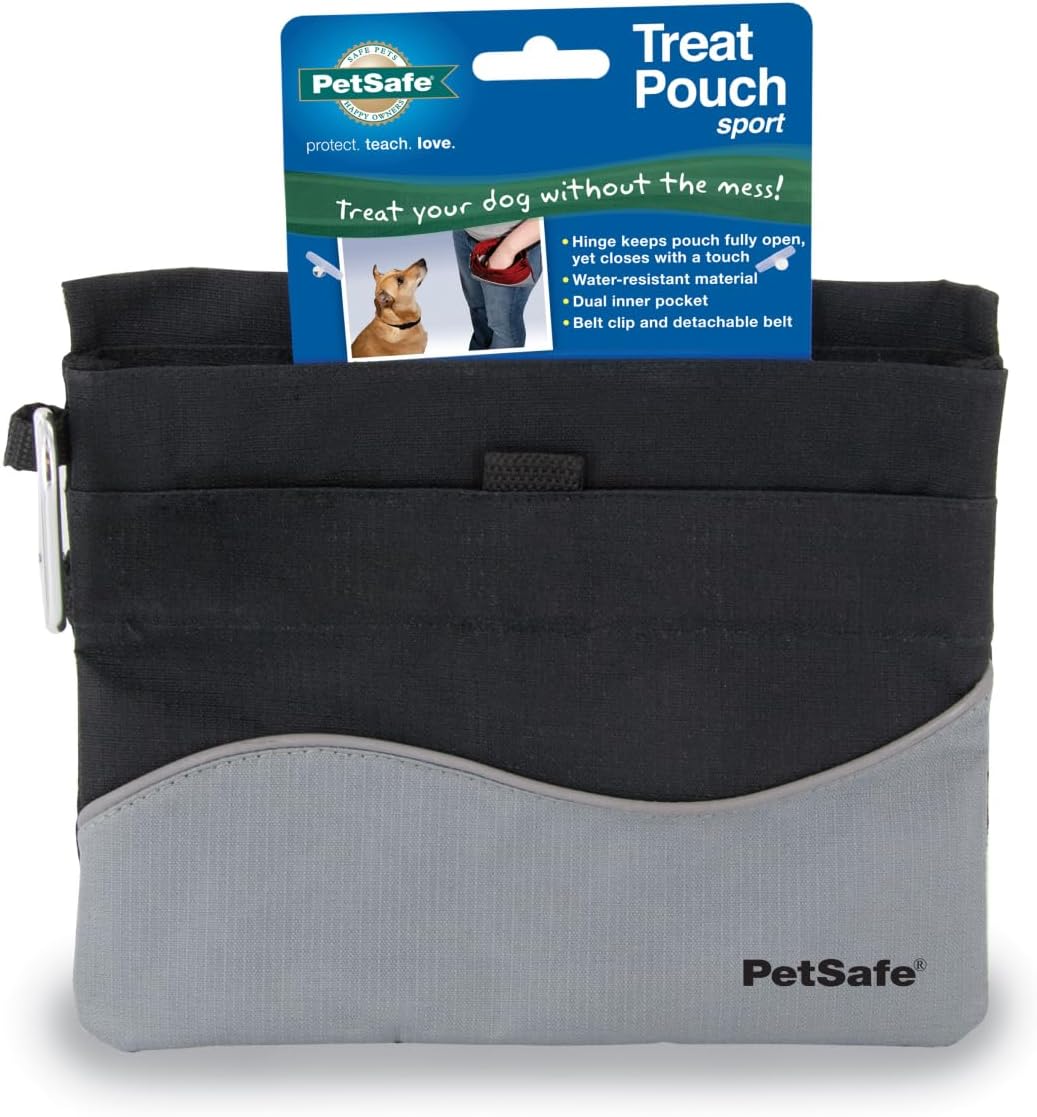
Mighty Paw Treat Pouch with Built-in Clicker
All-in-one training solution with waterproof treat pouch, built-in clicker pocket, and waist clip. Hands-free design keeps treats accessible for immediate reinforcement. The Certification Council for Professional Dog Trainers recommends consistent training tools for effective behavior modification.
Check Amazon PriceBasic Clicker Training Techniques
Once your clicker is charged, you can begin training using these three fundamental techniques:
1. Capturing Behaviors
This involves waiting for your dog to offer a behavior naturally, then clicking and treating when it occurs. Perfect for behaviors dogs do naturally like sitting, lying down, or making eye contact.
- Have clicker and treats ready
- Wait for your dog to sit naturally (they do this multiple times daily)
- The moment their bottom touches the floor → CLICK → TREAT
- Repeat 10-15 times over several sessions
- After multiple repetitions, add the verbal cue "sit" just as they begin to sit
2. Shaping Behaviors
Shaping breaks complex behaviors into small steps, rewarding successive approximations toward the final behavior. Essential for teaching tricks or complex obedience behaviors.
- Step 1: Click/treat for any head movement to the right
- Step 2: Click/treat only for head turn of 45° or more
- Step 3: Click/treat for head turn with slight body movement
- Step 4: Click/treat for quarter turn of body
- Step 5: Click/treat for half turn
- Step 6: Click/treat for full 360° spin
- Step 7: Add verbal cue "spin" as they begin the behavior
3. Luring Technique
Using a treat to guide your dog into position, then clicking when they achieve it. Faster than capturing for some behaviors, but requires fading the lure quickly.
- Hold treat at your dog's nose level
- Slowly lower treat straight down to floor
- As dog follows treat into down position → CLICK → give the treat
- Repeat 5 times with lure
- Session 2: Use empty hand in same motion, click/treat when dog lies down
- Session 3: Add hand signal without treat, then verbal cue "down"
Critical: Fade the Lure Quickly!
The biggest mistake with luring is creating "lure dependency" - where your dog only performs when they see food. To prevent this:
- Fade within 3-5 repetitions: Use treat, then empty hand, then just gesture
- Variable reinforcement: Once behavior is learned, reward intermittently
- Add distractions gradually: Practice in different environments
- Use higher criteria: Only click for quicker, more precise responses

Teaching Common Commands with Clicker Training
Here's a quick reference for teaching essential commands using clicker techniques:
| Command | Recommended Technique | Average Training Time | Tips for Success |
|---|---|---|---|
| Sit | Capturing or Luring | 1-2 sessions | Click at exact moment bottom touches floor |
| Down | Luring | 2-3 sessions | Keep lure close to body to prevent crawling |
| Stay | Shaping | 3-5 sessions | Increase duration/distance separately |
| Come | Capturing or Luring | 4-6 sessions | Always reward coming, never punish |
| Leave It | Shaping | 3-4 sessions | Start with low-value items, progress slowly |
| Heel | Shaping with Luring | 5-8 sessions | Click for position, not just walking |
Advanced Clicker Training Techniques
Once you've mastered basic clicker training, these advanced techniques can take your training to the next level:
Backchaining
Teaching complex behaviors in reverse order. Teach the last step first, then add preceding steps. Excellent for teaching retrieve sequences or agility courses.
Variable Reinforcement
Once a behavior is learned, switch from continuous reinforcement (every click gets a treat) to variable reinforcement (random rewards). Builds persistence and prevents satiation.
Errorless Learning
Setting up training so your dog is unlikely to make mistakes. Uses high rates of reinforcement initially, gradually increasing criteria. Reduces frustration for sensitive dogs.
Distance Work
Using a secondary marker (like a whistle) for distance work. The click marks behavior, a different sound means "come get your reward." Essential for field work or competition training.
Success Story: Reactive Rover to Confident Companion
Max, a 3-year-old rescue German Shepherd, had severe leash reactivity toward other dogs. His owners tried traditional correction-based methods with little success. After switching to clicker training:
- Week 2: Learned to look at handler instead of other dogs (click/treat for attention)
- Month 1: Could pass other dogs at 50 feet without reacting
- Month 3: Attended group training class successfully
- Month 6: Enjoyed walks in busy parks with minimal management
"Clicker training gave us a way to communicate what we wanted instead of just correcting what we didn't want," Max's owner reported. "It transformed our relationship and gave Max confidence." For dogs with similar issues, our dog agility training guide provides step-by-step protocols.
Troubleshooting Common Problems
Problem: Dog ignores click
Solution: Recharge clicker with higher-value treats. Ensure click-treat timing is immediate. Check if dog is distracted, tired, or not hungry.
Problem: Dog offers random behaviors
Solution: You may be clicking too infrequently, creating frustration. Increase reinforcement rate. Be clearer about what earns the click. Use shaping more systematically.
Problem: Dog only works for food
Solution: Fade treats gradually using variable reinforcement. Incorporate other rewards: toys, play, praise, life rewards (going outside, getting leash on).
Problem: Training plateau
Solution: Take a break for 2-3 days. Lower criteria temporarily to rebuild confidence. Change training location or time. Try teaching a completely new, fun behavior.
Advanced Training Guide
Bestseller
Don't Shoot the Dog!" by Karen Pryor
The classic guide to reinforcement training by clicker training pioneer Karen Pryor. Explains the science behind training in accessible language. Essential reading for serious trainers. Research from the Applied Animal Behaviour Science Journal confirms the effectiveness of positive reinforcement methods.
Check Amazon Price6-Week Clicker Training Timeline
Follow this structured timeline to systematically build your clicker training skills:
- Charge the clicker (2 sessions)
- Teach "sit" using capturing
- Practice timing with 100 clicks
- Establish 5-minute daily sessions
- Create training journal
- Teach "down" using luring
- Begin shaping "touch" (nose to hand)
- Practice in 2 different locations
- Introduce variable reinforcement
- Fade lures from Week 1 behaviors
- Teach "leave it" using shaping
- Begin "stay" with 3-second duration
- Practice with mild distractions
- Record training videos for review
- Attend online training workshop
- Practice emergency recall ("come")
- Increase "stay" to 10 seconds
- Teach "watch me" (eye contact)
- Train in 3 new environments
- Join local training group
- Teach "heel" position
- Shape a fun trick (spin, bow)
- Practice with real-life distractions
- Begin fading clicker for known behaviors
- Volunteer for training demonstration
- Train in 5 challenging environments
- Practice all behaviors without treats visible
- Teach a complex chain behavior
- Evaluate progress with pre/post videos
- Plan next training goals
Additional Resources
Final Thoughts on Clicker Training
Clicker training is more than just a training method - it's a communication system that builds understanding, trust, and joy between you and your dog. By focusing on what your dog does right rather than what they do wrong, you create a learning environment where both of you can succeed.
Remember that every dog learns at their own pace. Some breeds and individuals will pick up clicker training instantly, while others may need more time to understand the system. Be patient, consistent, and always end training sessions on a positive note.
The skills you develop through clicker training - precise timing, clear communication, patience, and creative problem-solving - will serve you well in all aspects of dog ownership. Whether you're teaching basic manners, preparing for competition, or simply strengthening your bond, clicker training offers a humane, effective, and enjoyable path to success.