Transforming your pet's crate from a simple containment area into a personalized sanctuary doesn't require expensive store-bought accessories. With some creativity and basic crafting skills, you can create DIY crate accessories that are both functional and beautiful. This comprehensive 2026 guide walks you through everything from simple cover projects to advanced customization ideas, all while prioritizing your pet's safety and comfort.
Whether you have a new puppy needing crate training or want to refresh your senior pet's space, these budget-friendly DIY projects can save you hundreds of dollars while creating a space your pet will love. According to the ASPCA, a comfortable crate environment can significantly reduce anxiety in pets.
Table of Contents

Safety First: Pet-Safe Materials Guide
Before starting any DIY crate accessories project, understanding pet-safe materials is crucial. Some common craft materials can be hazardous to pets if ingested or inhaled.
Materials to Avoid in Pet Projects
- Toxic fabrics: Certain dyes, waterproofing chemicals, and flame retardants
- Small parts: Buttons, beads, or decorations that could be swallowed
- Sharp edges: Metal, plastic, or wood pieces that could cause injury
- Strings/cords: Long cords that could pose strangulation risks
- Toxic paints/stains: Lead-based paints or VOC-heavy finishes
- Foam/filling: Some synthetic foams can be toxic if ingested
Always check the Pet Poison Helpline for current information on hazardous materials.
Pet-Safe Fabrics
Organic cotton, fleece, microfiber. Look for Oeko-Tex certified fabrics free from harmful chemicals. Avoid loose weaves that claws can get caught in.
Safe Fill Materials
Polyester fiberfill, memory foam (covered), cedar shavings (for odor control). Ensure fill is securely enclosed to prevent ingestion.
Non-Toxic Fasteners
Velcro strips, heavy-duty snaps, strong fabric ties. Avoid small buttons, zippers with pull tabs, or metal clasps that could be chewed.
Safe Paints/Finishes
Water-based, non-toxic paints. Look for child-safe or food-safe finishes. Allow full curing time (typically 72+ hours) before pet use.
Essential DIY Crate Foundation
Crafting Essential
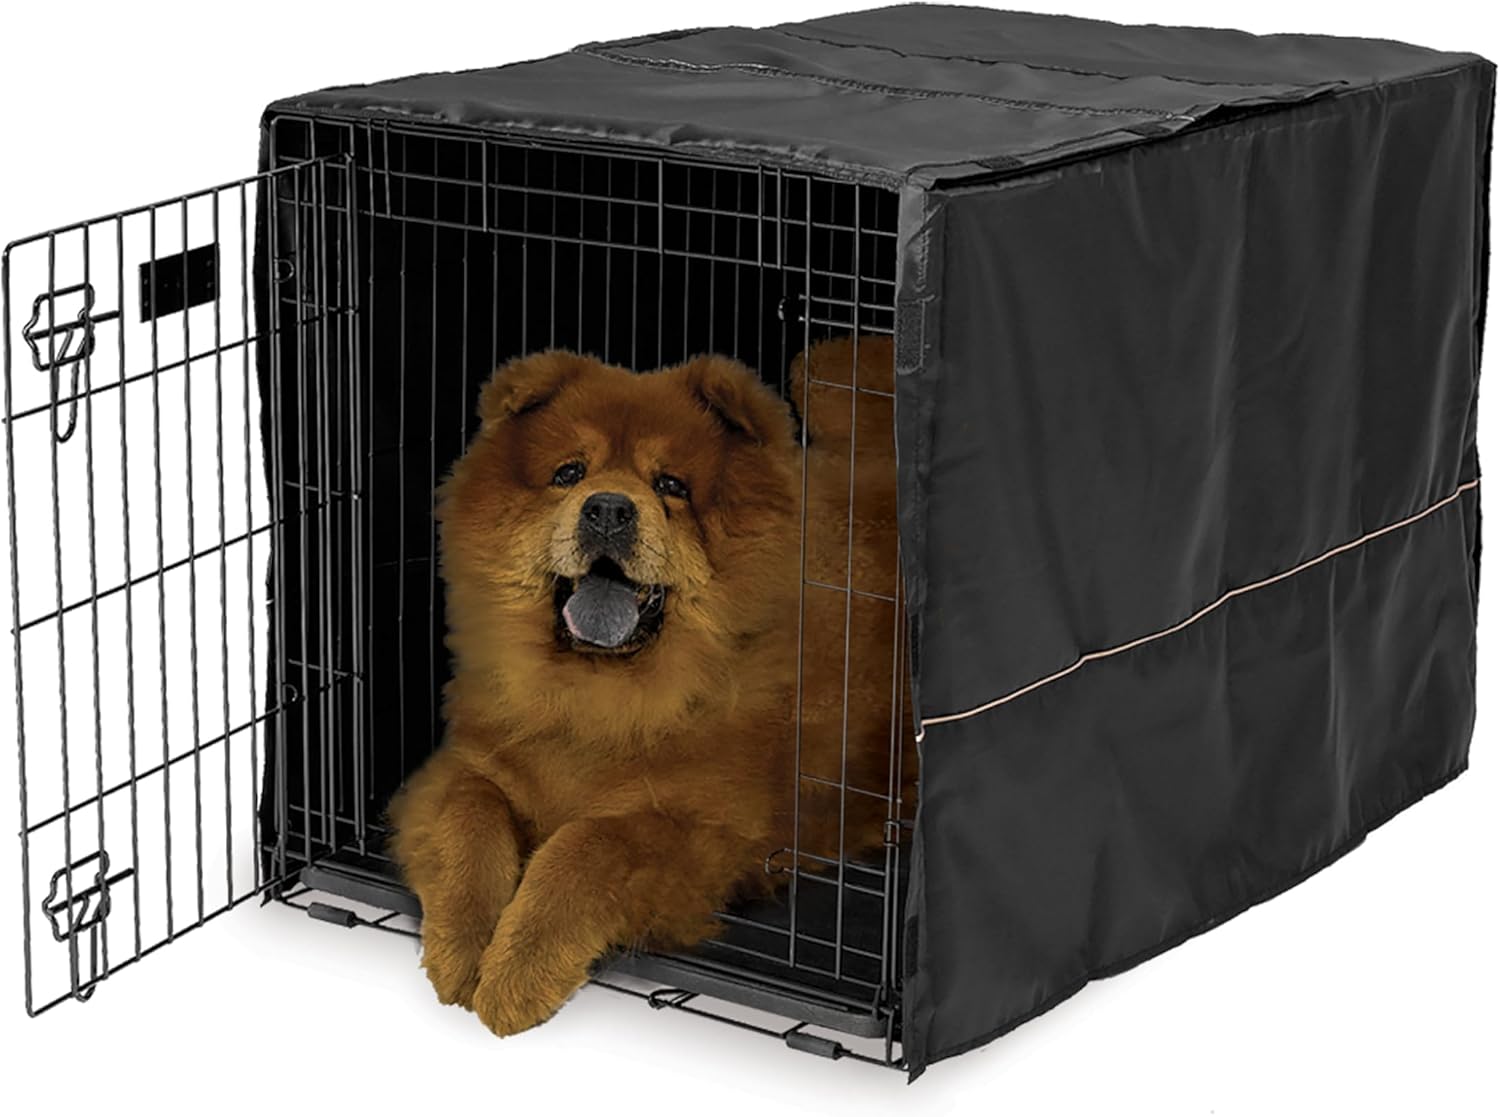
Midwest Homes for Pets Dog Crate
Sturdy single-door crate with divider panel. Perfect canvas for DIY projects with secure construction and proper ventilation.
Check Amazon Price12 DIY Crate Accessory Projects for 2026
These projects range from beginner-friendly to advanced, with clear instructions for each skill level:
No-Sew Fleece Crate Cover
Time: 45 minutes |
Cost: $15-25
Transform a crate with simple fleece and binder clips.
Creates a cozy den-like environment perfect for anxious
pets. Works with wire crates of any size.
Memory Foam Crate Pad
Time: 60 minutes |
Cost: $20-35
Custom-cut memory foam with waterproof cover. Perfect for
senior pets or dogs with joint issues. Much cheaper than
store-bought orthopedic beds.
Crate-Side Toy Organizer
Time: 90 minutes |
Cost: $25-40
Fabric pockets that attach to crate exterior. Holds toys,
treats, and essentials. Uses heavy-duty Velcro for easy
removal during cleaning.
Built-in Feeding Station
Time: 120 minutes |
Cost: $40-60
Custom wooden platform with integrated bowls that slide into
crate. Prevents spills and keeps feeding area contained.
Stain-resistant finish.
No-Sew Crate Cover Project: Step-by-Step
This beginner-friendly project requires no sewing skills and can be completed in under an hour:
Materials Needed
- 2-3 yards of fleece fabric (pet-safe, Oeko-Tex certified)
- 24-36 binder clips (1.25" size works best)
- Fabric scissors
- Measuring tape
- Fabric marking chalk or pen
- Optional: Velcro strips for added security
Take Accurate Measurements
Measure your crate's length, width, and height. Add 6 inches to each measurement for overlap. For a 36"L x 24"W x 27"H crate, you'd need fabric approximately 42" x 30" for the top and side pieces accordingly.
Cut Fabric Pieces
Cut one piece for the top (crate length + 6" x crate width + 6"). Cut three pieces for sides (crate length/width + 6" x crate height + 6"). Leave one side open for ventilation and entry.
Attach with Binder Clips
Drape top piece over crate. Attach side pieces using binder clips spaced 4-6 inches apart. Ensure fabric is taut but not stretched. Leave front third open for proper air circulation.
Add Personal Touches
Optional: Add Velcro strips for more secure attachment. Create window flaps with additional binder clips. Add your pet's name with fabric-safe markers or iron-on letters.
Pro Tips for Crate Covers
- Fabric choice: Fleece is ideal - it's warm, doesn't fray, and comes in many patterns
- Ventilation: Always leave at least 1/3 of the front uncovered for proper airflow
- Cleaning: Use removable covers or plan for easy removal for washing
- Safety check: Regularly inspect clips and fabric for signs of wear or chewing
- Seasonal options: Create lighter cotton covers for summer, heavier fleece for winter

Custom Crate Bedding: Orthopedic Options
Creating custom bedding allows you to address specific pet needs at a fraction of store prices:
| Bedding Type | DIY Cost | Store Price | Savings | Best For |
|---|---|---|---|---|
| Basic Fleece Pad | $12-18 | $25-40 | 50-60% | Puppies, warm climates |
| Memory Foam Orthopedic | $25-35 | $60-100 | 60-65% | Senior pets, joint issues |
| Cooling Gel Pad | $20-30 | $50-80 | 60% | Hot climates, thick-coated breeds |
| Elevated Mesh Cot | $30-45 | $70-120 | 55-60% | Air circulation, easy cleaning |
| Heated Bed (Pet-Safe) | $35-50 | $80-150 | 55-65% | Arthritic pets, cold climates |
DIY Crafting Supplies Kit
Starter Kit
Fiskars Crafting Supplies Essential Kit
Complete crafting kit with fabric scissors, measuring tape, fabric markers, safety pins, and basic sewing supplies. Perfect for beginning DIY pet projects. Includes storage case. According to the Craft Industry Alliance, proper tools improve project outcomes and safety.
Check Amazon PriceProjects by Skill Level
Choose projects that match your crafting experience:
Beginner (No Experience)
- No-sew fleece crate cover
- Fabric tie-on toy holder
- Simple crate mat from old towels
- Decorative crate banners (outside only)
- Water bottle holder attachment
Intermediate (Basic Sewing)
- Zippered crate pad covers
- Multi-pocket organizer panels
- Custom-fitted crate curtains
- Removable cushion with piping
- Insulated winter crate cover
Advanced (Woodworking/Sewing)
- Built-in feeding station
- Crate with storage bench combo
- Custom crate furniture piece
- Temperature-regulated crate
- Automated treat dispenser system
Family Projects (Kids Can Help)
- Painted crate decorations (non-toxic)
- Handprint fabric banner
- Personalized name plaque
- Felt toy creations
- Decorating fabric with fabric markers
Budget Guide: DIY vs. Store-Bought
ZimuShop 2026 DIY Savings Analysis
We compared DIY costs against commercial products for common crate accessories:
| Accessory Type | Average DIY Cost | Average Store Price | Savings | Time Investment | Customization Level |
|---|---|---|---|---|---|
| Crate Cover (Basic) | $18-25 | $45-75 | 60-67% | 45-60 min | High |
| Orthopedic Bed | $28-40 | $65-120 | 57-67% | 75-90 min | Very High |
| Toy Organizer | $15-22 | $35-60 | 57-63% | 60-75 min | High |
| Feeding Station | $35-55 | $80-150 | 56-63% | 120-150 min | Maximum |
| Crate Divider | $12-18 | $30-50 | 60-64% | 30-45 min | Medium |
Based on 2026 market prices and material costs. DIY costs assume purchasing new materials (not upcycling).
DIY Savings Calculator
Estimate your potential savings with this simple calculation:
Typical Crate Setup Savings:
Basic store-bought setup: Cover ($50) + Bed ($80) + Organizer ($40) = $170
DIY equivalent: Cover ($20) + Bed ($30) + Organizer ($18) = $68
Total Savings: $102 (60% savings!)
Plus: Perfect customization for your pet's needs and your home decor
Essential Tools & Materials List
Build your DIY crate accessory toolkit with these essentials:
Measuring & Marking
- Flexible measuring tape
- Yardstick or metal ruler
- Fabric marking chalk
- Water-soluble fabric pen
- Right-angle tool (for corners)
Cutting Tools
- Fabric scissors (dedicated pair)
- Rotary cutter & cutting mat
- Utility knife (for foam)
- Wire cutters (for crate modifications)
- Safety scissors (if kids help)
Fastening & Assembly
- Heavy-duty Velcro strips
- Binder clips (multiple sizes)
- Fabric snaps & applicator
- Strong fabric glue (pet-safe)
- Zip ties (for structural projects)
Finishing & Safety
- Non-toxic fabric sealant
- Waterproof spray (pet-safe)
- Fabric fray check
- Edge binding tape
- Fire-retardant spray (optional)
Pet-Safe Fabric & Materials
Safety Certified
Oeko-Tex Certified Anti-Pill Fleece
Certified free from harmful chemicals and heavy metals. Anti-pill finish resists pilling from pet nails. Available in 30+ colors and patterns. Machine washable and durable for pet use. Research from Oeko-Tex International ensures fabrics meet strict safety standards for sensitive users.
Check Amazon Price